###
Step 1 - Rough sketch: This was a bit of a challenge as the “look over shoulder” was a first for me and took several tries to get something I was happy with. I worked with the author and trying to get the image he desired. Adam's note: I showed Jon the covers for Steven Erickson's "Gardens of the Moon" and Bridget Zinn's "Poison" to give him an idea of what I had in mind.

Step 2 - Sketch Concepts: The helm was a key element to the story, so I wanted to give the author a few options on the look for this. Adam's note: My thanks to everyone who voted on which helm they liked best!

Step 3 - Final Sketch: This combines and cleans up all prior sketches to prep for transfer to canvas.

Step 4 - Background sketch: The background was supposed to be the inside
of the Coliseum. This was also something
new for me, particularly the crowd and trying to capture depth. This took a couple tries, but this rough
version was the one I liked the most.

Step 5 - Background Sketch Test Fit: I cut out the painted background sketch and laid it over the final sketch to get a good idea of look.

Step 6 - Transfer to Canvas: I used graphite paper to transfer the final sketch to canvas.

Step 7 - Hard Line Sketch: The graphite transfer isn’t permanent enough to remain after masking and washes (a painting technique using a lot of water); because of this I have to “hard line” the sketch to make sure its still there while painting. In total the lines using my technique are drawn 5 times minimum (rough sketch, final sketch, graphite transfer, hard line, final pen work).


 |
| Jon's assistant, Yeti, lends his creative talents. |
Step 9 - Background Base Pigment: Base color is applied to the background.

Step 10 - Background continued, mask
removed: In this picture you can see additional
details added to the background including the crowd. I removed the stonework mask to get ready for
base pigment.

Step 11 - Opening Base Pigment: Here the base pigment is applied to the
opening trying to capture light coming through the doorway. Once again this uses a “wash” that would
bleed into the body of the character if it were not masked off.
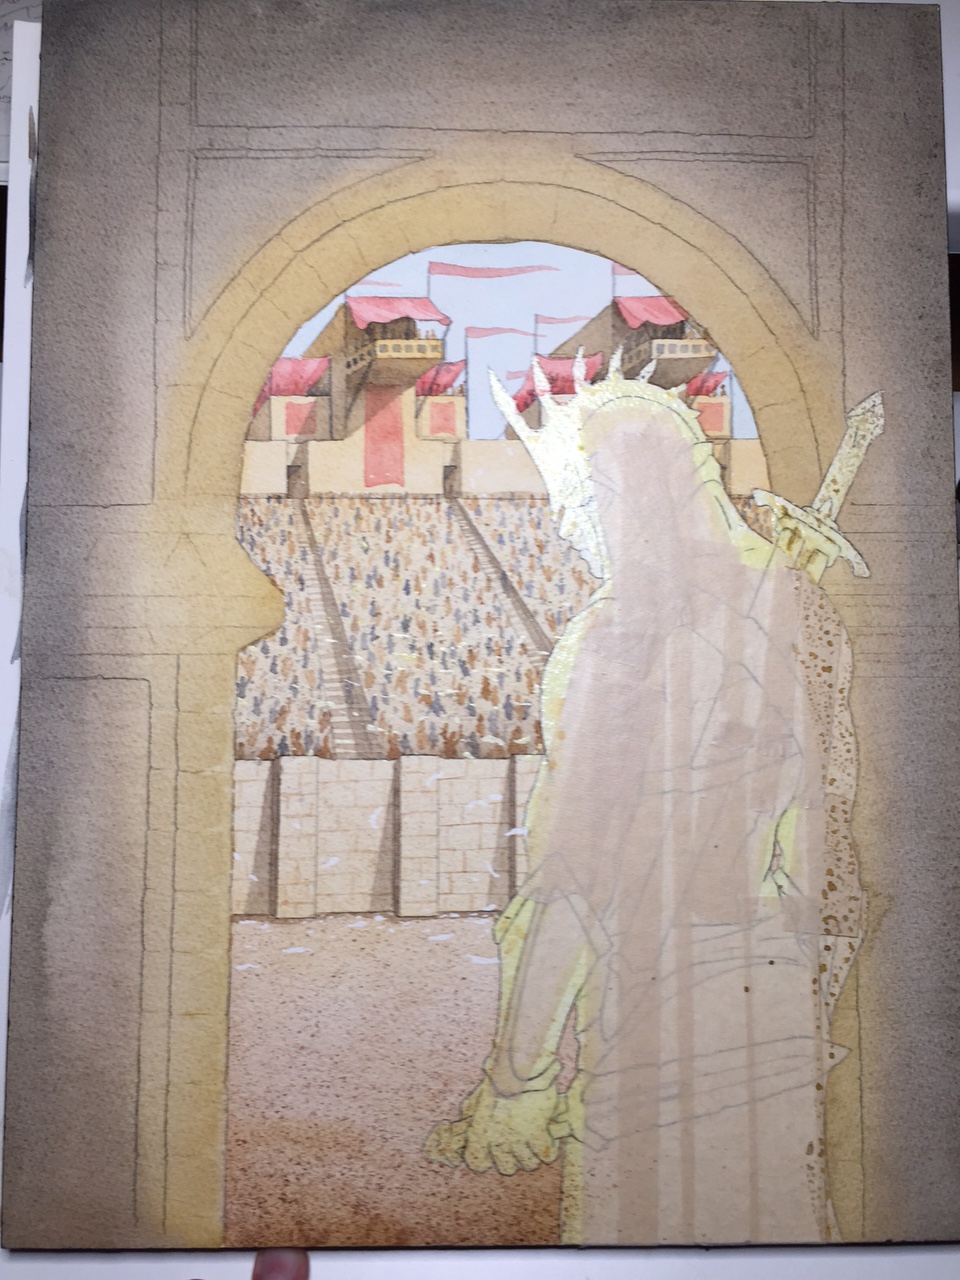
Step 12 - Opening continued, Mask
removed: Now that the messy parts of the
opening are complete I remove the mask for the character and continue on the
stone look.

Step 13 - Details: Now I can start the detail work. Pen is only applied after no paint will ever touch that part of the canvas again. The black ink will bleed into the paint otherwise. Typically I Pen the most crucial lines as soon as a I can. If I screw these up then the piece is ruined, so its best to get them out of the way as soon as possible so I didn’t waist hours finishing the piece just to mess up with the final pen stroke. Adam's note: It strikes me that it takes a lot of courage to be this far along in the process and know that a single pen stroke could ruin the whole thing. That's why I like writing. I can always go back and edit.

Final Step - More Details: Pen and pigment continued to be applied.

And finally, the finished product. The editors take care of adding text such as title and author.

 |
| Jon's work station: where the magic happens. |
###
Pretty amazing, huh? Another huge thanks to Jon for his hard work and willingness to collaborate on this cover. If anyone's looking for a cover artist, Jon comes with my highest recommendation.
So now that you've seen the dirty work, hop over to MWP's page to see the finished product as it will appear on my book!